Why You Need a Cheat Sheet
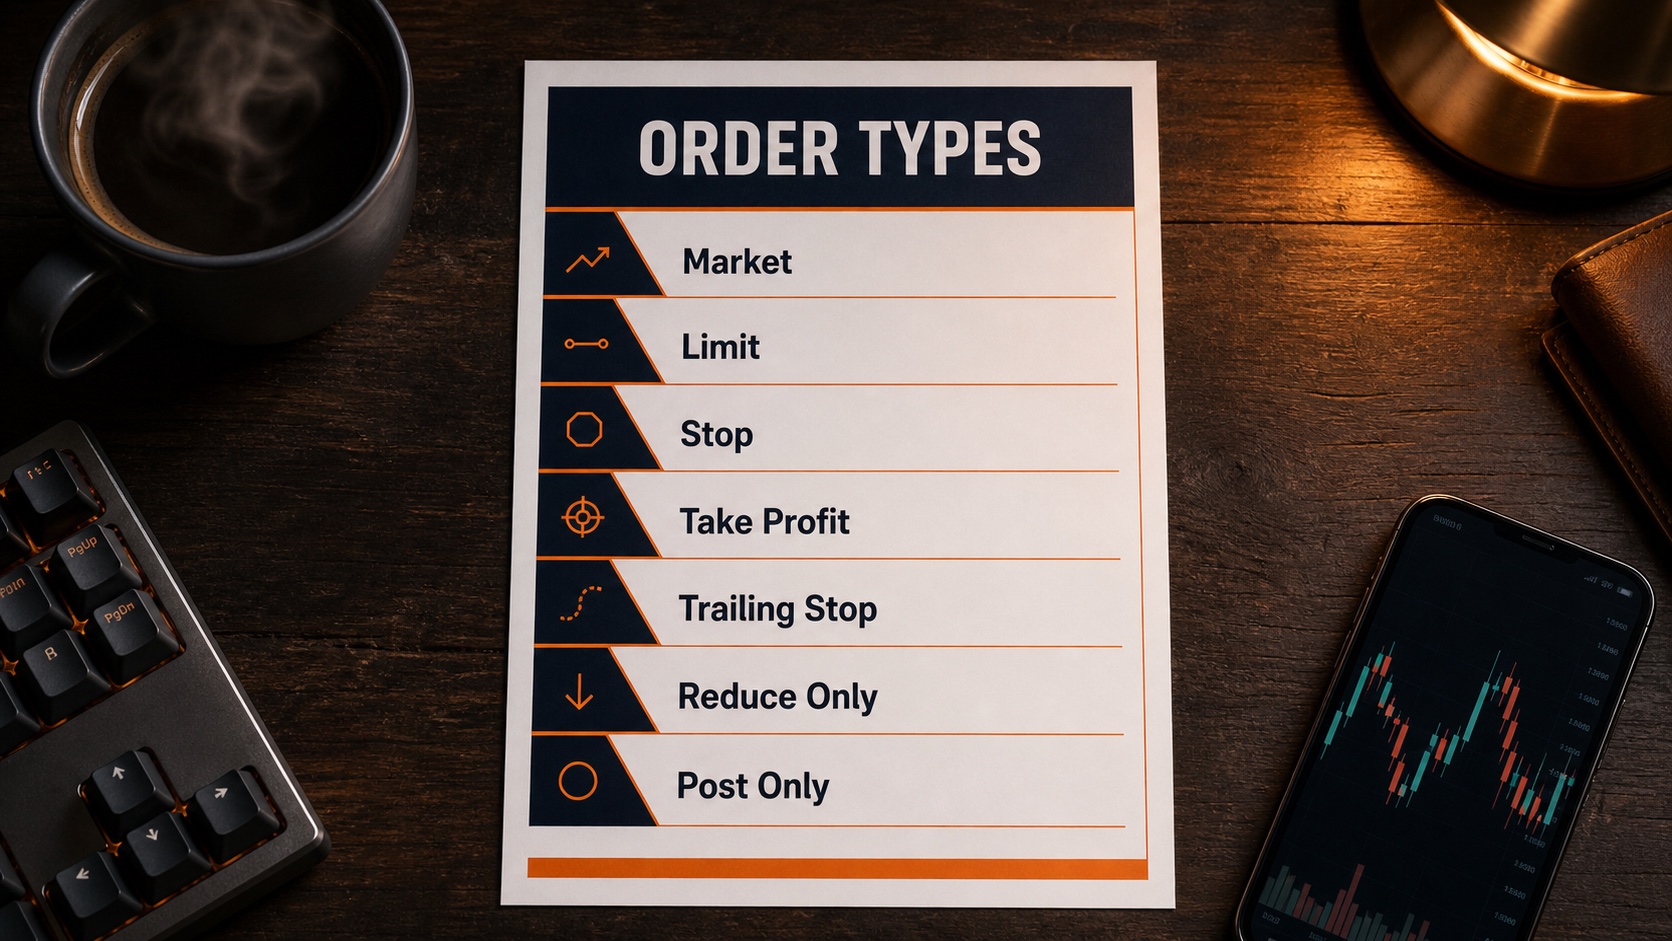
The first time you open the order panel on a real crypto exchange it looks like the cockpit of a plane. Market, Limit, Stop-Market, Stop-Limit, Take Profit, Trailing Stop, IOC, FOK, GTC, Reduce Only, Post Only. Most beginners freeze, click the wrong thing, and either get filled at a price they did not want or accidentally flip their position the wrong way.
This article is the plain-English reference for every single order type and condition you will see on Bybit, Binance, OKX, Hyperliquid or any other modern exchange. Read it once to build the mental model, then download the PDF cheat sheet and keep it next to your screen.
- Crypto Order Types Cheat Sheet (PDF) - one-page reference with every order type, paraphrased and printable. Pin it next to your trading screen.
1. The Two Core Orders: Market vs Limit
Everything else is a variation of these two. Get them right and the rest is easy.
Market order. Buys or sells at whatever price is available right now. The exchange walks the order book and fills you instantly. You give up some price (the spread) in exchange for guaranteed execution. Use this when getting in matters more than the exact price - for example when you are entering on a confirmed signal and a few cents will not change the outcome.
Limit order. Buys or sells only at the price you choose, or better. The order sits on the order book and waits. If the market reaches your price, you fill. If it never gets there, you never fill. You get a precise entry but no guarantee the trade ever happens.
Rule of thumb: market orders for execution certainty, limit orders for price certainty. You almost never need both.
2. Maker vs Taker (Why Fees Matter)
This one trips up almost every beginner. Every exchange has two fee tiers: maker and taker.
Maker means you added liquidity. You posted a limit order on the book that someone else filled. Exchanges love this - you make their book deeper - so they charge you less. Sometimes nothing.
Taker means you removed liquidity. You hit a market order or a limit order that crossed the book and got filled instantly against someone else's resting order. The taker pays the higher fee, often 2-3x more than the maker.
If you trade actively, fees compound brutally. A trader doing 10 round trips a day at taker fees can burn the same percentage of capital as one bad trade per week. Limit orders save real money.
3. Stop Orders (Your Stop Loss)
This is where most blow-ups happen. Pay attention.
Stop-Market (also called Stop, or Stop Loss / SL). When price hits the trigger you set, the platform fires a market order to close your position. Guaranteed execution at whatever the next available price is. This is the one you want for your stop loss. Always.
Stop-Limit. When price hits the trigger, the platform places a limit order at the price you specified. Sounds smart - you get a better fill, right? Wrong. In a fast crash, price can blow straight through your limit and the order never fills. You watch your screen as the position keeps losing past your "stop" because the limit could not catch the move. Traders get liquidated this way every cycle.
- Always use stop-MARKET, never stop-limit, for your stop loss. A guaranteed exit at a slightly worse price beats no exit during a flash crash. Save stop-limit for very specific advanced setups where you know exactly why you are using it.
4. Take Profit (TP)
The mirror of a stop loss. Closes your position at a price level you set when entering, locking in the win. By default most exchanges fire take profits as market orders so you get out as fast as possible. Some platforms let you choose between TP-market and TP-limit if you want a precise exit.
Set both your stop loss and your take profit at the moment you open the trade, not after. The biggest discretionary mistake new traders make is entering "to see how it goes" and then never placing the stop. The position then runs against them and the brain finds reasons to hold.
5. Trailing Stop
A trailing stop is a stop that follows the market by a distance you set, but only in the favourable direction. Imagine you are long and the trade is moving up. You set a trailing stop $0.50 below the current price. As price climbs, the stop climbs with it. If price reverses by $0.50, the stop fires and you exit with whatever profit was locked in.
Best used when you have caught a strong trend and you do not know where it ends. The trailing stop lets the winner run while removing the question of "where do I take profit?" - the market answers it for you.
6. Advanced Time-in-Force Conditions
You will mostly never need these as a beginner, but you will see them in the dropdown so know what they do.
Immediate or Cancel (IOC). The order tries to fill at your limit price right now. Anything that does not fill instantly is cancelled. Useful when you want partial execution but no resting order on the book.
Fill or Kill (FOK). All-or-nothing version of IOC. The full quantity must fill instantly, or the entire order is cancelled. Used by traders who cannot use partial fills.
Good Till Cancelled (GTC). The default behaviour for limit orders on most platforms. The order rests on the book until it fills or you cancel it. No time limit.
7. Order Conditions (The Checkboxes)
Two checkboxes you will see on every order panel. The first one prevents account blow-ups. The second one saves you fees.
Reduce Only. Forces the order to only reduce or close your existing position. It cannot accidentally open a new trade in the opposite direction. Imagine you are short one Bitcoin and you fat-finger a stop loss for two Bitcoin. Without reduce-only, that order would close your short AND open a one-Bitcoin long. With reduce-only ticked, it can only ever close down what you already have. This single checkbox has saved more accounts than any indicator ever invented.
Post Only. The order is only accepted if it would sit on the order book as a maker. If it would execute immediately as a taker, the exchange rejects it. Use this when you want to qualify for the cheaper maker fee tier.
- Stop-MARKET, not stop-limit, on every stop loss. Guaranteed execution beats theoretical price.
- Reduce Only ticked on every stop and take profit. The order can only ever close your position, never flip it.
8. The Best Way to Learn These
Reading about order types will only get you so far. The fastest way to actually understand them is to deposit a tiny amount on an exchange - $5 to $20 is plenty - and start placing orders. Use a low-priced altcoin so the exchange minimum lets you trade with small size. Place a market order. Place a limit order. Set a stop loss. Set a take profit. Try a trailing stop. Cancel them. Watch what happens to the open orders panel.
Most exchanges also have a testnet (a demo environment) where you can practice with fake money. Bybit's testnet gives you $100,000 of fake capital. Spend a week on testnet, then switch to small real capital. By the time you trade serious size, the order panel should feel like driving a car - you do not think about it, you just do it.
Wrap Up
Three things to take away. One: market for speed, limit for price - everything else is a variation. Two: always use stop-market on your stop losses, and always tick reduce-only. Three: the only way to actually internalise this is to place a few real orders with tiny size and take notes on what each button does.
Download the PDF cheat sheet here and pin it next to your trading screen. The full free trading course is at thriveinmarkets.com/courses - Lesson 2 walks through these order types in detail, and Lesson 3 puts them into action live on a real exchange so you see exactly which buttons to press.
If you trade crypto, I personally use Bybit for the liquidity, the perp futures market, and the order tools covered across these lessons. New users get $20 USDT free plus up to $30,000 in rewards through that affiliate link. Disclosure: it is an affiliate link, but I use the platform myself.
Not financial advice. Trading is high risk. Only trade with capital you can afford to lose, and only use exchanges that are legal in your jurisdiction.